

The Astron Avenger first appeared in the 1969 Estes catalog and was one of the original "K" numbered kits (K-38). It is a two stage (18mm to 18mm) design in a 3 fin configuration. As you can see from the pictures above there was a slight change to the booster fin outline between 1969 and 1970 although I'm not sure of the reason for this. The Avenger was finally discontinued in the 1982 catalog.
My own history with this kit started sometime around 1977. It was among the very first rockets I ever built and flew with my friends in Jr. High school. It was my first two stage rocket.
This build will be a clone of the original Estes kit using Semroc components including the die-cut fin set which was first rate. Body tube cut lengths were determined using John Brohm's excellent reference "Estes Body Tube/Kit Reference" dated February 21, 2008. If you don't have this guide or his "Estes Nose Cone/Kit Reference" guide, I would suggest you google and download them. They are an indispensable reference for the Estes "cloner"!

The first step was to construct the engine mounts for the booster and upper stages. Since I prefer the motor mount method of shock cord attachment, I had to deviate from the instructions slightly here.

As you can see in the photo above, I've added an AR-2050 adapter ring to provide an anchor point for the Kevlar shock cord. The cord is then secured to the tube with 5 minute epoxy.

Next up is prepping the wood parts by filling the balsa grain and sanding them smooth. As with other kits on this blog, I've used Elmer's Wood Filler (affectionately known as "peanut butter") to do the job here. The balsa parts on this model include fins and adapter (shown above) and the nose cone.

Fin attachment gave me the opportunity to try out my recently purchased Estes all purpose tool to aid in keeping the fin exactly vertical. The upper stage fins were tacked in place first using CA glue.


Then I aligned the booster to the upper stage and temporarily taped it to hold it in alignment for attachment of the booster fins. To keep the upper and lower fins aligned with each other, I used a gift card as a guide to hold them in place.

Fillets were made with 5 minute epoxy and then it was on to primer and paint...

During the primer stage, I had my seemingly obligatory finishing issue when I got a strange "bump" just above the fins on the upper stage. I believe it was caused by moisture left over from wiping the rocket with a wet paper towel after sanding. On the plus side, since this was the "filler" primer coat, it was pretty easy to sand out.

I decided I didn't like the seam at the top of the adapter, so that was filled with a little bit of "Squadron White Putty".

Next, the final "White" primer coat was applied. I've had people ask me why I do this extra step of a white primer coat and the reason is two-fold. First, the white primer I use is the same brand (Krylon) as the color coat and so I avoid any possibility of any kind of adverse reaction that would cause finish abnormalities (i.e. crackling, or dimples). Second, the white base coat makes the final finish colors "pop" a little more than a grey base coat would.

For the silver payload bay, I opted to use an airbrush since metallic paint tends to run almost without exception when applied with a spray can. My experience on the Little Joe II build taught me that. I chose a Tamiya Silver Acrylic that I have used before on a few plastic model kits and got good results.


After painting the lower rocket body and fins white, the black trim color was applied. The only thing worth mentioning here is that if you are going to paint a trim color over top of a final main color, let the first color coat completely dry for several days before applying the trim color. This reduces any chance of cracking due to the first coat continuing to shrink as it fully cures.
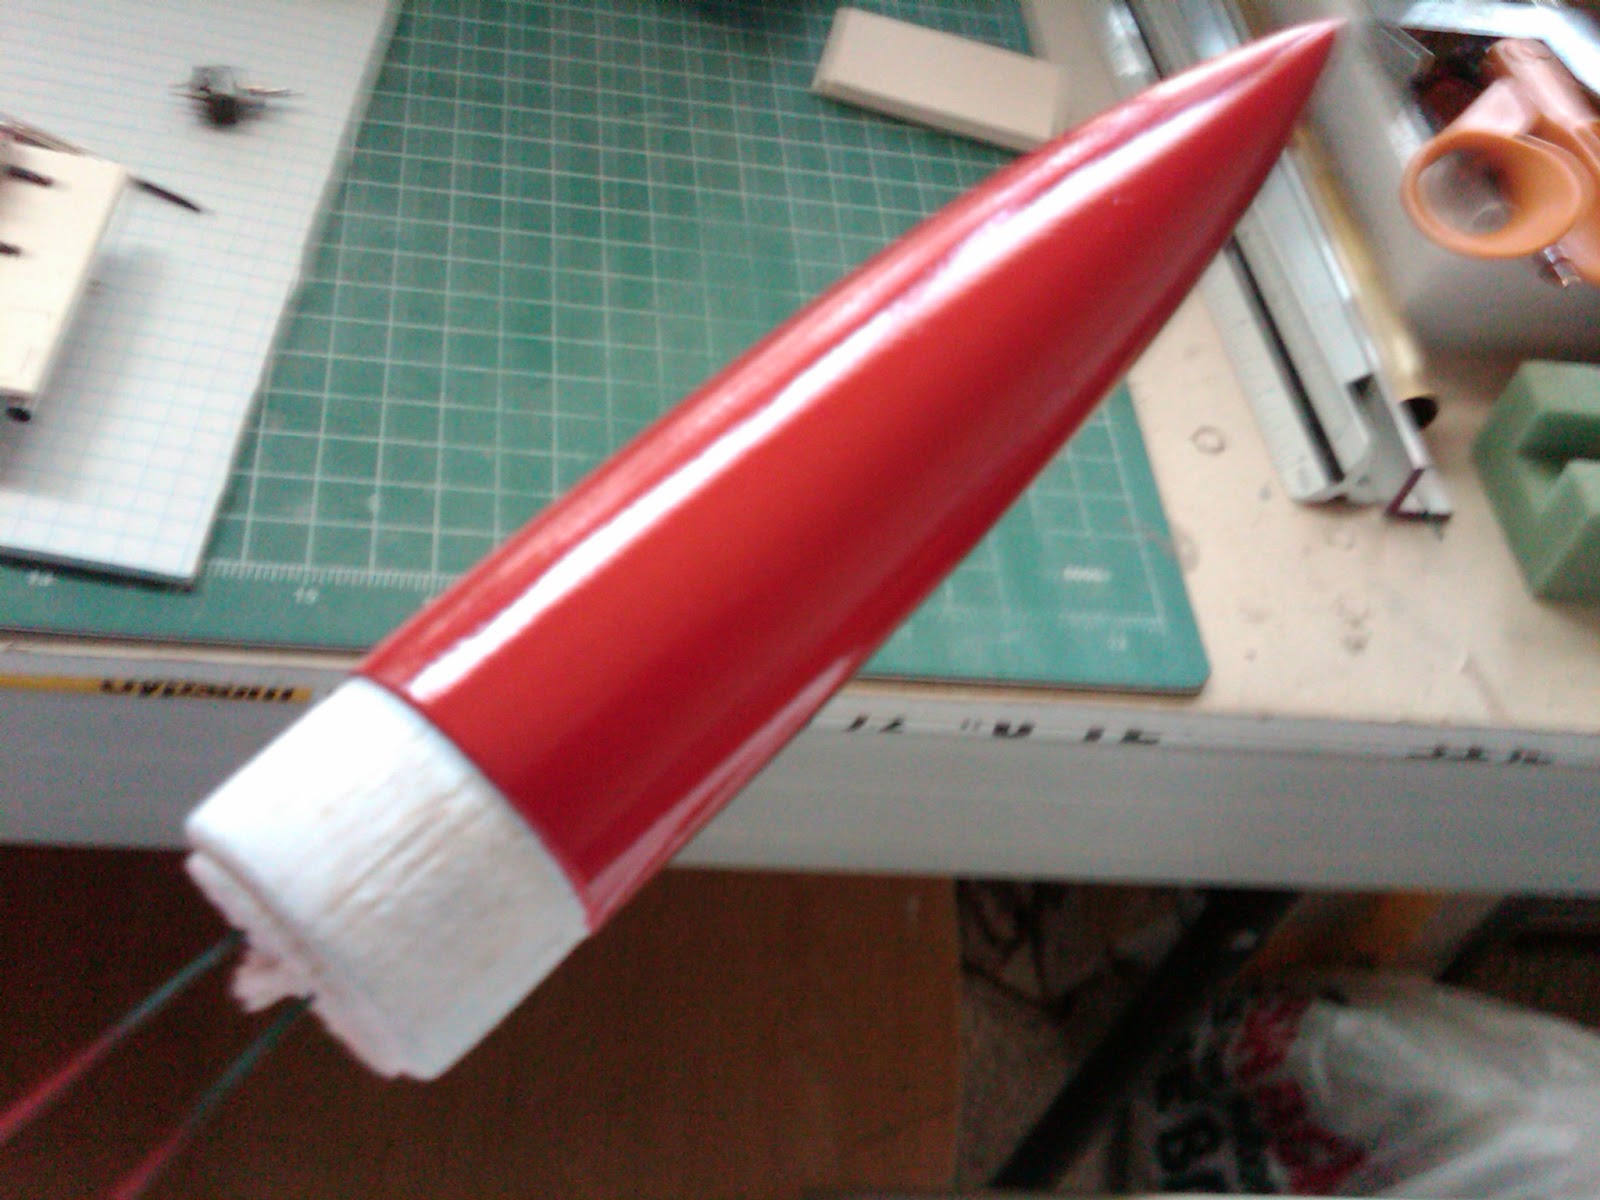
Last but not least, a nice bright red for the nose and then final assembly (attaching shock cord, parachute, etc...)


The completed model!!!